|
Formatting Conditions of Approval is really helpful when there is a lot of text for each condition. Fonts, font size, bold, underline, bullets, numbering, and adding a link within the text have had success. However, the italics, inserting a photo, and font color may not keep the formatting on reports. Follow the steps below to create and format a Condition of Approval. 1. With your record selected, click on the Conditions of Approval page. 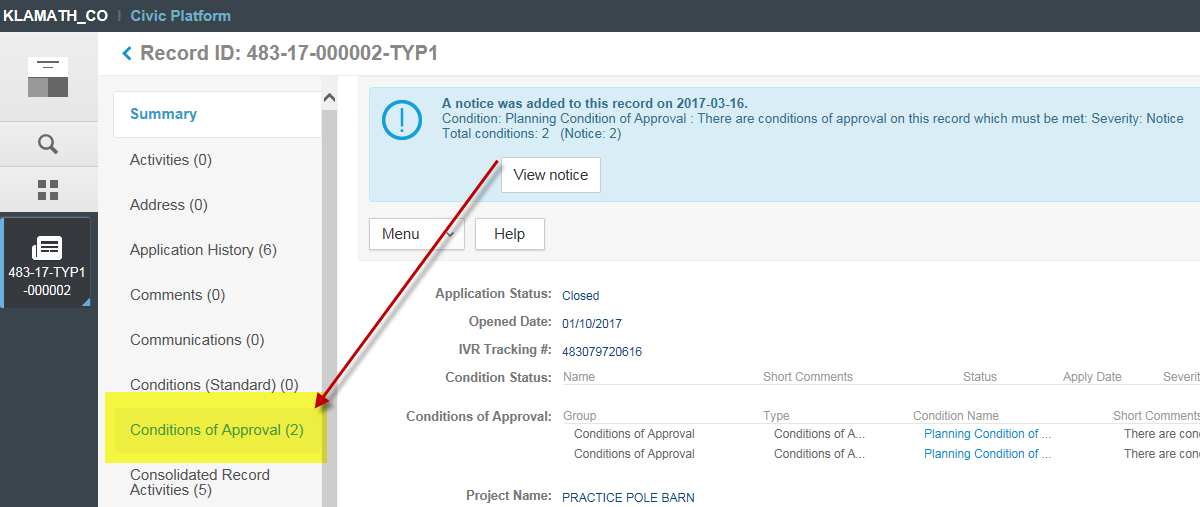 2. Click the New button. 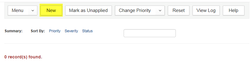 3. Select “Conditions of Approval” from the dropdown. 4. Click the Submit button. 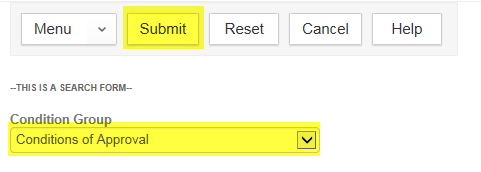 5. Check the box in front of the appropriate Condition of Approval. 6. Click the Select button. 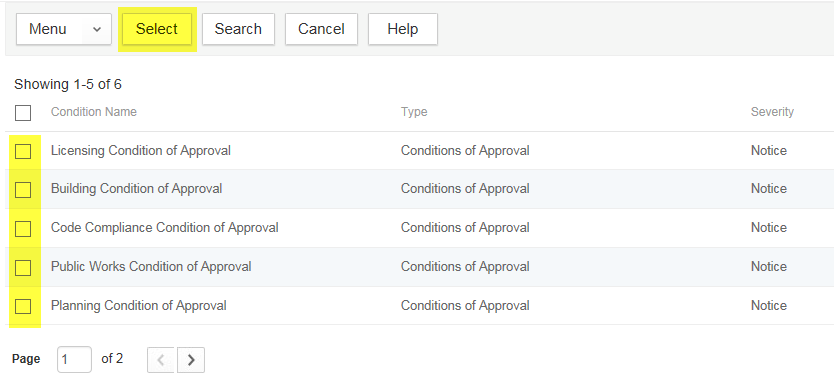 7. The Condition of Approval has now been added with a default comment: “There are conditions of approval on this record which must be met.” 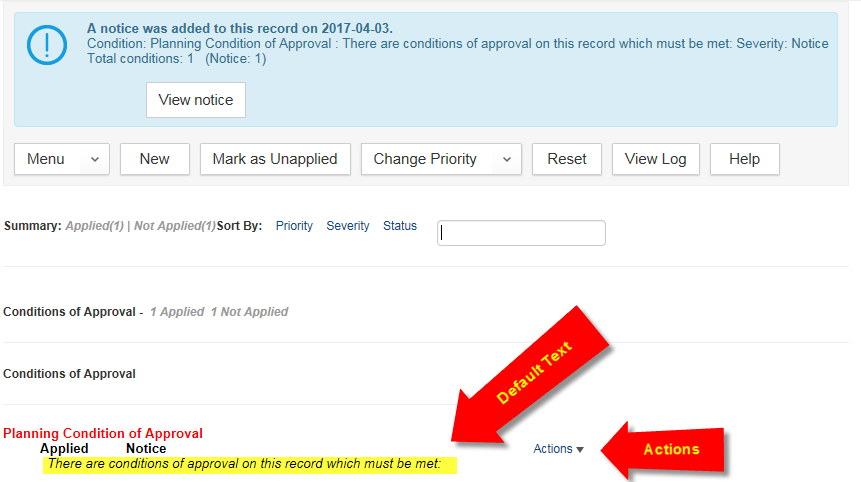 8. To add additional detail, click on the Actions dropdown.  9. A new window will pop up where you may input additional information. There is a basic HTML editor included, which will allow you to format your text. a. NOTE: You have access to any Standard Comments loaded into your agency as well. b. NOTE: Several reports pull in Conditions of Approval along with the HTML formatting and will look much better if your agency uses consistent formatting.  Fonts, font size, bold, underline, bullets, numbering, and adding a link within the text have had success. However, the italics, inserting a photo, and font color may not keep the formatting on reports. 10. To update the default text that appears in the Conditions of Approval list for the record (see #7 above), scroll down and change the Short Comments (this step is optional). 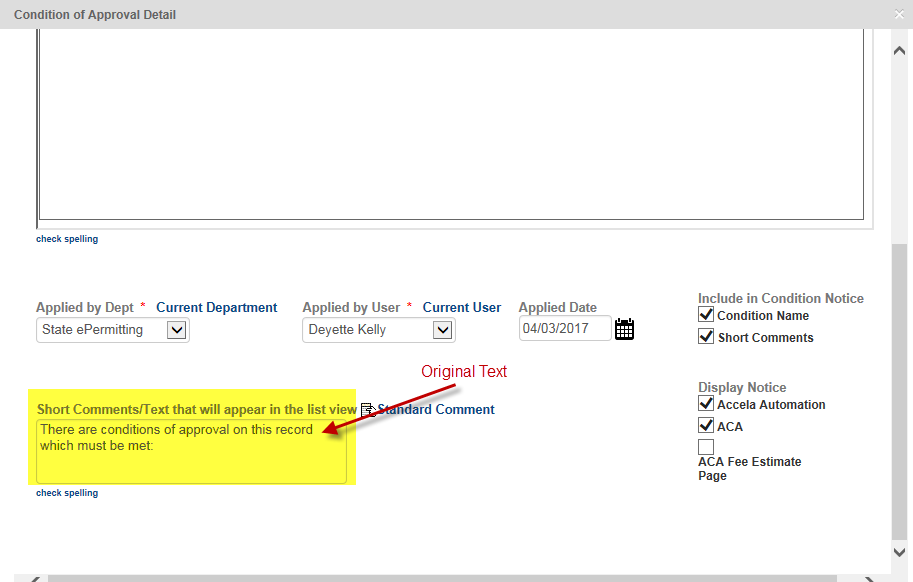 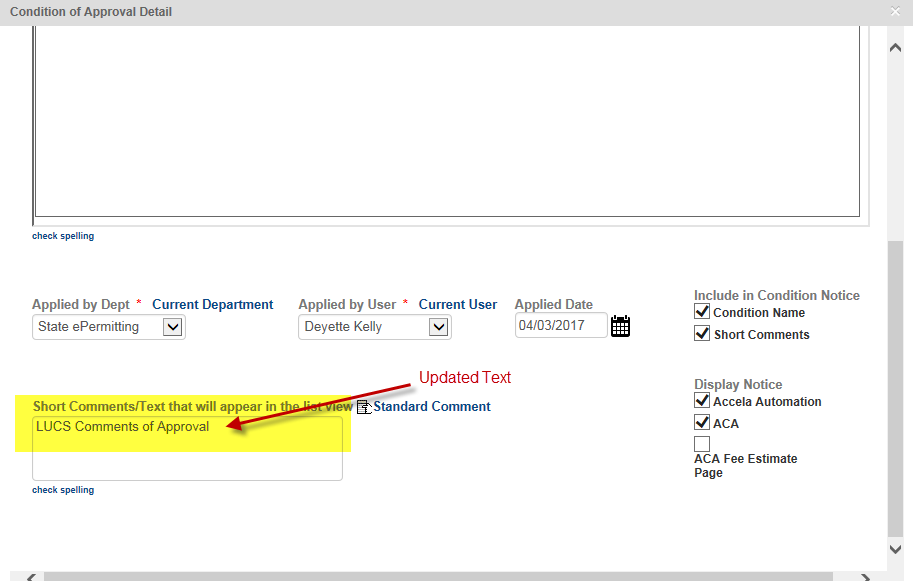 11. After updating with the necessary information, click the Save button. 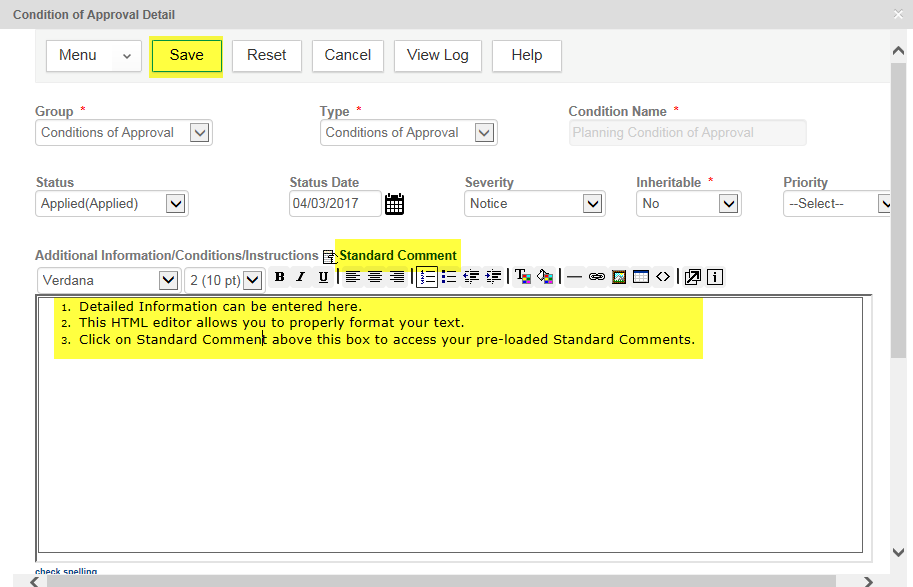 12. You can now see the updated short comments in the list. 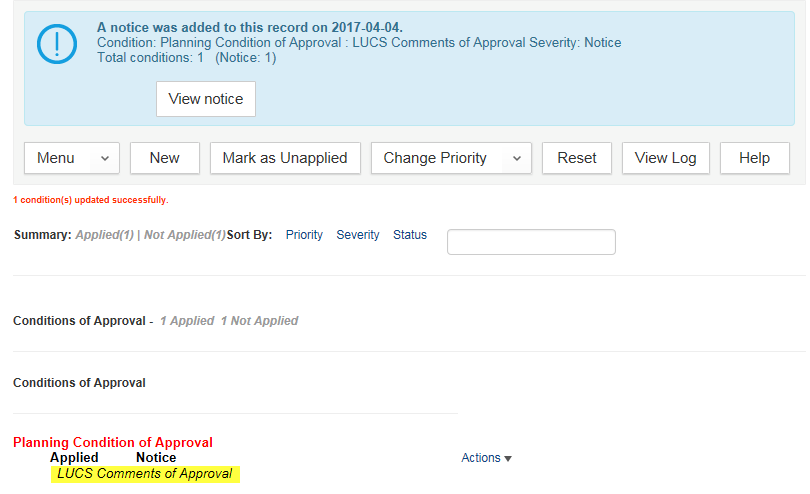
0 Comments
Your comment will be posted after it is approved.
Leave a Reply. |
DisclaimerPlease be aware that this content is relevant at the time it is published, but as time goes on may become out-of-date. We will do our best to keep the content alive and relevant. Archives
June 2024
Categories
All
|
 RSS Feed